

Hey there! As a supplier of open punching machines, I'm super stoked to share with you how to install punching dies in an open punching machine. It might seem a bit daunting at first, but with the right steps and a bit of know - how, you'll be installing those dies like a pro in no time.
Pre - installation Checks
Before we even start thinking about installing the punching dies, there are a few things we need to do. First off, safety should always be your top priority. Make sure the open punching machine is completely powered off. You don't want any accidental starts while you're working on it.
Next, give the machine a good once - over. Check for any visible damage, loose parts, or debris. Clean the machine if necessary, especially the areas where the dies will be installed. This includes the die holder and the ram. A clean surface ensures a better fit and reduces the risk of any issues during the punching process.
Also, take a look at the punching dies themselves. Inspect them for any signs of wear, cracks, or damage. If you notice anything off, it might be time to replace the dies or get them repaired.
Tools You'll Need
You're gonna need a few tools to get this job done right. A set of wrenches is a must - have. You'll use them to loosen and tighten bolts. A feeler gauge is also super useful. It helps you measure the clearance between the dies, which is crucial for proper punching. And don't forget a hammer. You'll use it gently to seat the dies in place.
Step - by - Step Installation Process
Step 1: Position the Machine
First, make sure the open punching machine is in a stable position. You don't want it wobbling around while you're installing the dies. Adjust the leveling feet if needed to ensure the machine is perfectly level.
Step 2: Identify the Die Holder
Locate the die holder on the open punching machine. This is where the lower die will be installed. It's usually a flat, sturdy surface with holes for bolts.
Step 3: Install the Lower Die
Carefully place the lower die onto the die holder. Align the holes in the die with the holes in the die holder. Insert the bolts through the holes and use the wrenches to tighten them. But don't go overboard! You want the die to be securely in place, but you don't want to damage the die or the machine by overtightening.
Use the feeler gauge to check the clearance between the lower die and the die holder. The clearance should be uniform all around. If it's not, you might need to adjust the position of the die slightly.
Step 4: Prepare the Ram
The ram is the part of the machine that moves up and down to apply pressure during punching. Clean the ram surface and make sure it's free of any debris.
Step 5: Install the Upper Die
Now it's time to install the upper die. Attach it to the ram. There are usually bolts or clamps that you can use to secure the upper die. Just like with the lower die, make sure the upper die is properly aligned.
Step 6: Align the Dies
This is one of the most important steps. You need to make sure the upper and lower dies are perfectly aligned. If they're not, you'll end up with uneven punches or even damage to the dies.
Use a piece of scrap material to test the alignment. Place the scrap material between the dies and run the machine for a test punch. Check the punched hole. If it's off - center or has uneven edges, you'll need to adjust the alignment of the dies. You can do this by loosening the bolts slightly and moving the dies into the correct position.
Step 7: Check the Clearance
Once the dies are aligned, use the feeler gauge again to check the clearance between the upper and lower dies. The clearance should be consistent across the entire surface of the dies. This clearance is important because it affects the quality of the punched holes and the lifespan of the dies.
Step 8: Tighten Everything Up
After you're satisfied with the alignment and clearance, go back and tighten all the bolts one more time. Make sure everything is nice and secure.
Post - installation Checks
Once you've installed the punching dies, it's time to do some final checks. Power on the open punching machine and run a few test punches using scrap material. Check the quality of the punched holes. They should be clean, with smooth edges and consistent size.
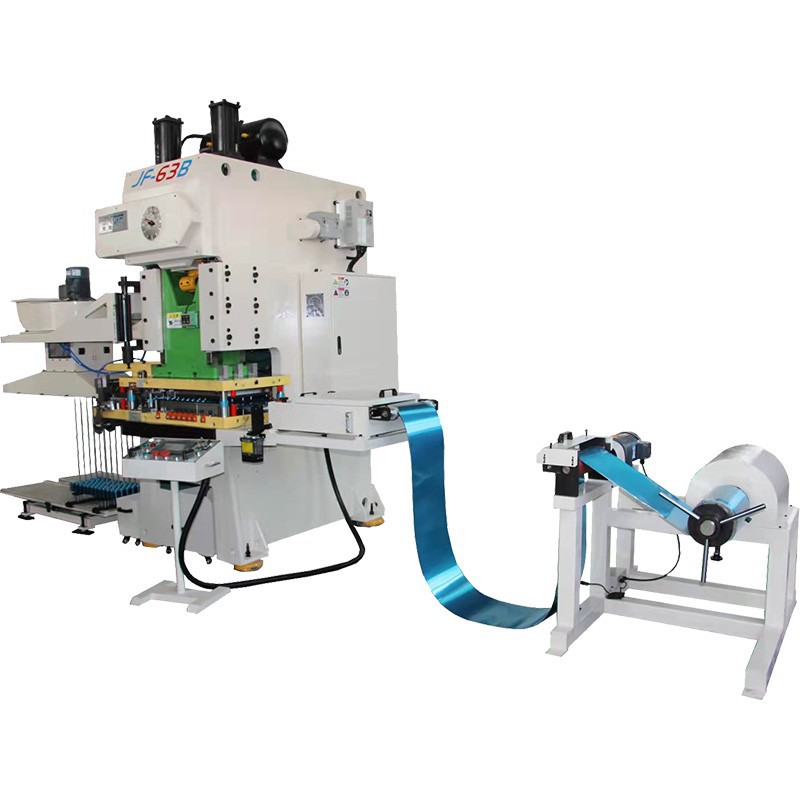

Listen to the machine as it runs. If you hear any strange noises, it could be a sign that something is wrong. Maybe the dies aren't installed correctly or there's a problem with the machine itself.
Our Open Punching Machine Offerings
If you're in the market for a new open punching machine or need to replace your old one, we've got some great options for you. Check out our Open Type Fin Press Line, which is perfect for a variety of punching tasks. It's reliable, efficient, and easy to operate.
We also have the Stamping Machine Line for Air Condition. This machine is specifically designed for the air - conditioning industry, and it can handle all your stamping needs with precision.
And for those looking for something a bit different, our H Type Fin Press Line is a great choice. It offers unique features and excellent performance.
Contact Us for Purchasing
If you're interested in our open punching machines or have any questions about die installation or our products in general, don't hesitate to reach out. We're here to help you make the right choice for your business. Whether you're a small workshop or a large manufacturing plant, we've got the solutions you need.
References
- "Punching Machine Handbook" - A comprehensive guide on punching machines and die installation.
- Industry best practices and standards for punching machine operations.


